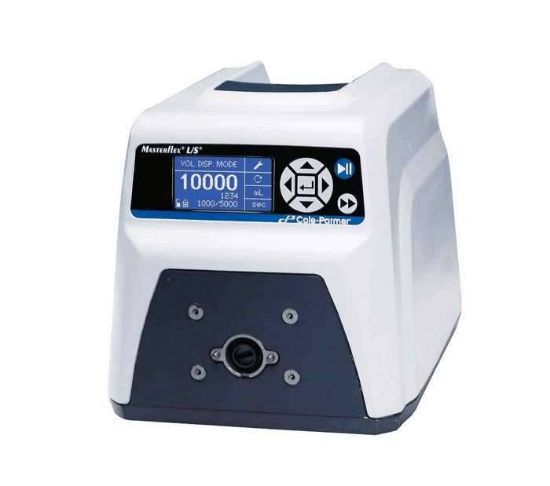
Peristaltic Pump Calibration
A Masterflex L/S digital drive's speed setting tells the pump how fast to turn, not how much liquid it's actually moving. The real flow rate depends on the exact tubing you have loaded, and tubing varies enough from batch to batch that the number on the display can drift from the number in your beaker. Tubing calibration closes that gap by measuring what the pump actually delivers and adjusting the drive to match, and it takes only a few minutes with a beaker of water and a graduated cylinder.
At A Glance
Best suited for: any Masterflex L/S digital drive paired with L/S pump tubing
What you need: a beaker or container of water, a graduated cylinder, the pump head and tubing you'll actually use
Time required: a few minutes, plus one or two repeat runs until the reading matches
Main benefit: turns a raw speed setting into a verified, real world flow rate
What You'll Need
You'll need a beaker or container of water, a graduated cylinder, a Masterflex pump head and Masterflex tubing. The demonstration below uses LS15 silicone tubing. A clamp and stand aren't strictly necessary, but they make the setup steadier and easier to work with. Dyeing the water makes the level easier to read against the light background of a graduated cylinder, any safe method works, it's purely a visibility aid.
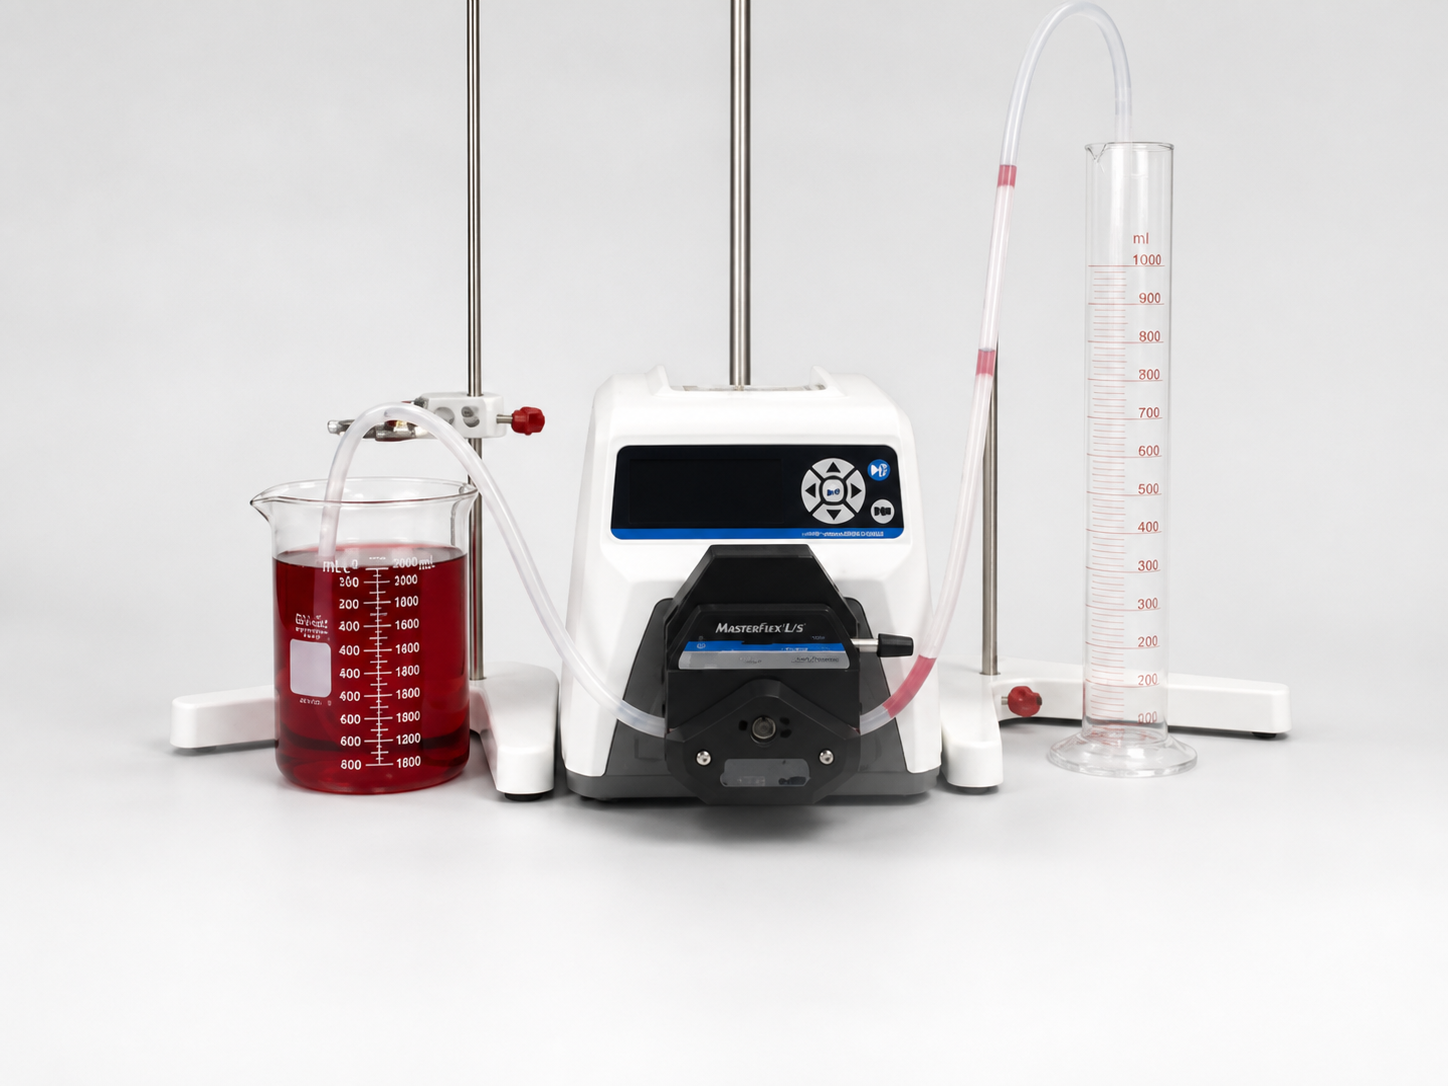
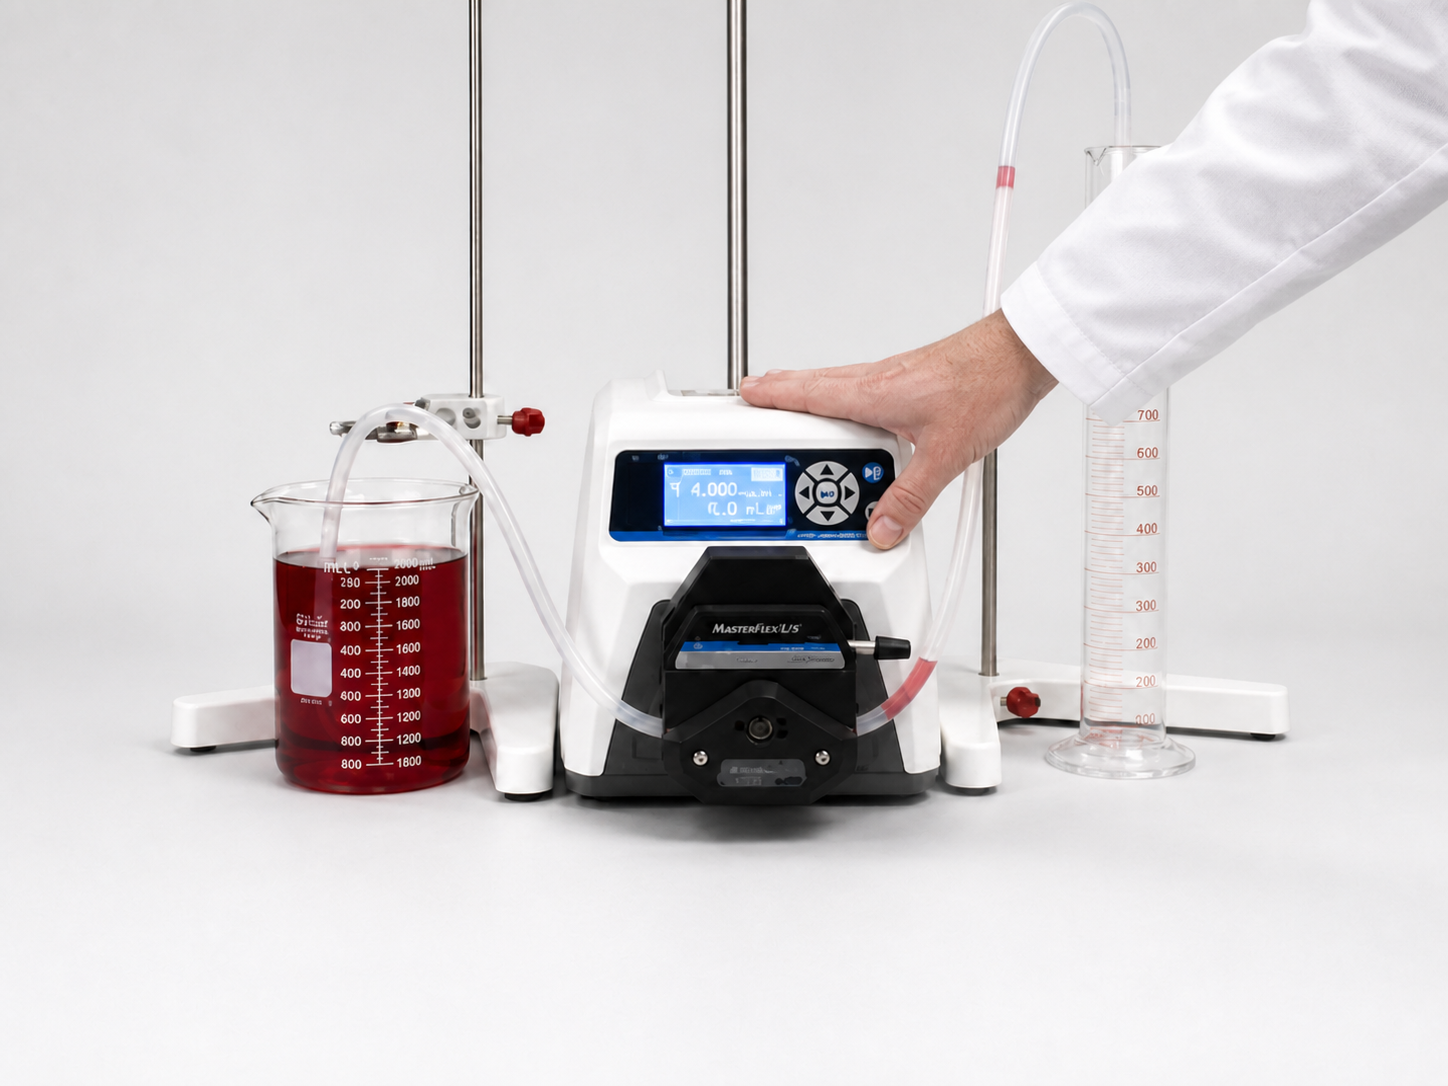
A typical calibration setup: beaker, pump head with tubing, and a graduated cylinder to catch the output.
Turn On The Drive And Open Setup
Turn on the drive, then go to the main menu by selecting the setup icon and pressing Enter. Use the up and down arrow keys to move through the menu until Tubing Cal is highlighted, then press Enter to select it.
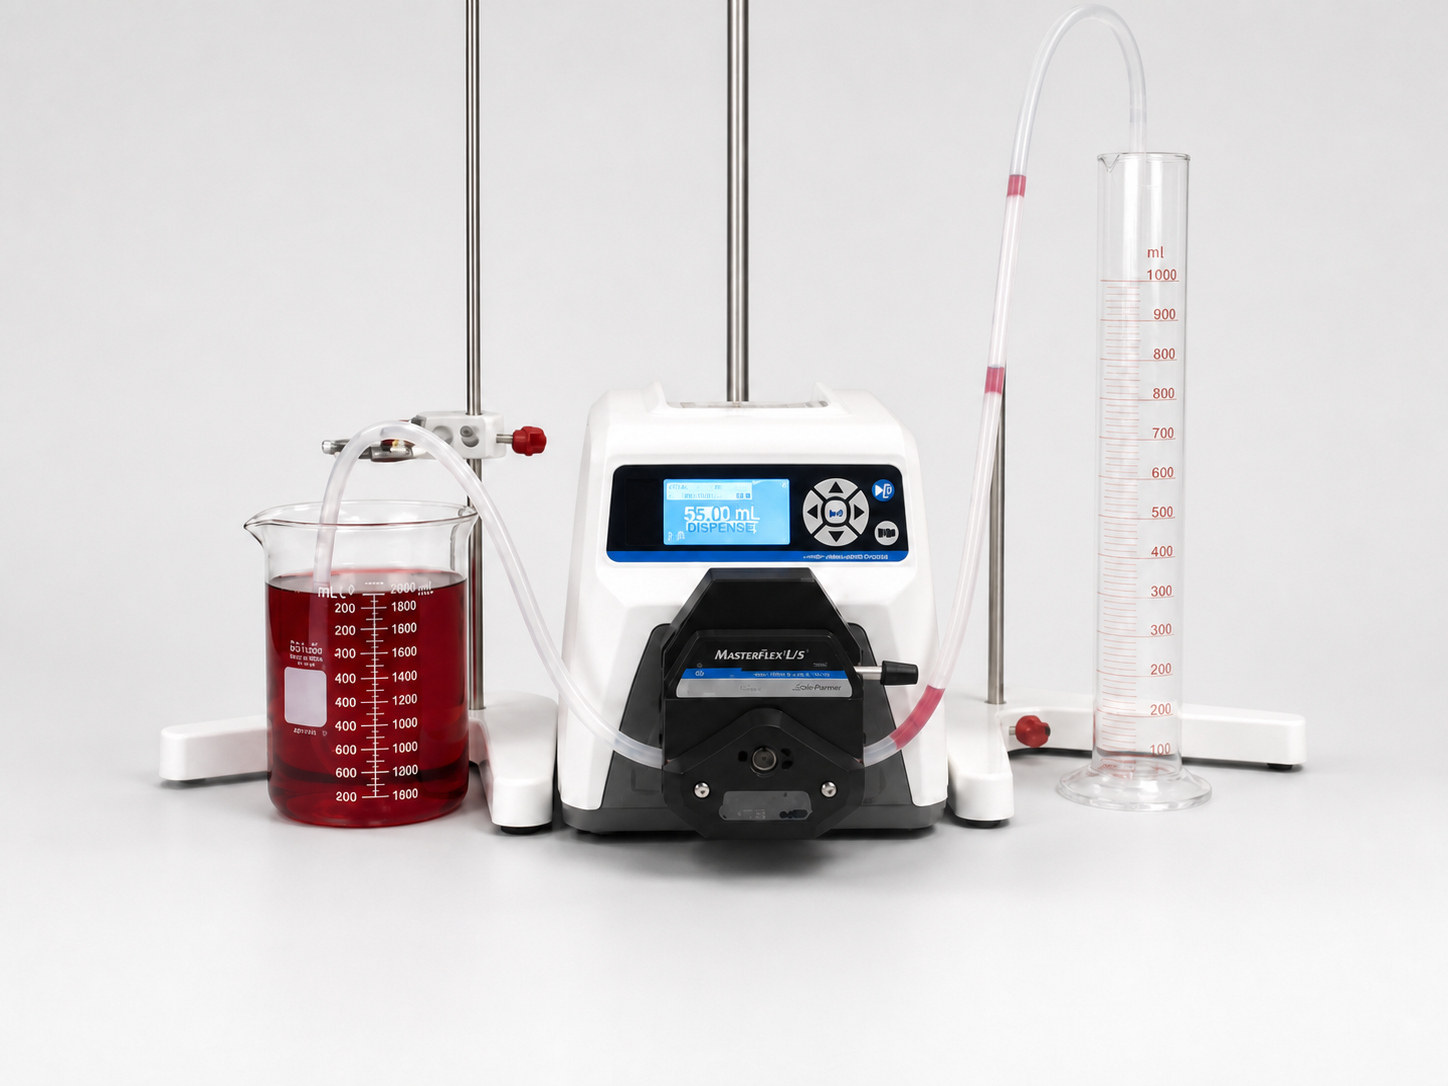
Turning on the drive before entering the setup menu.
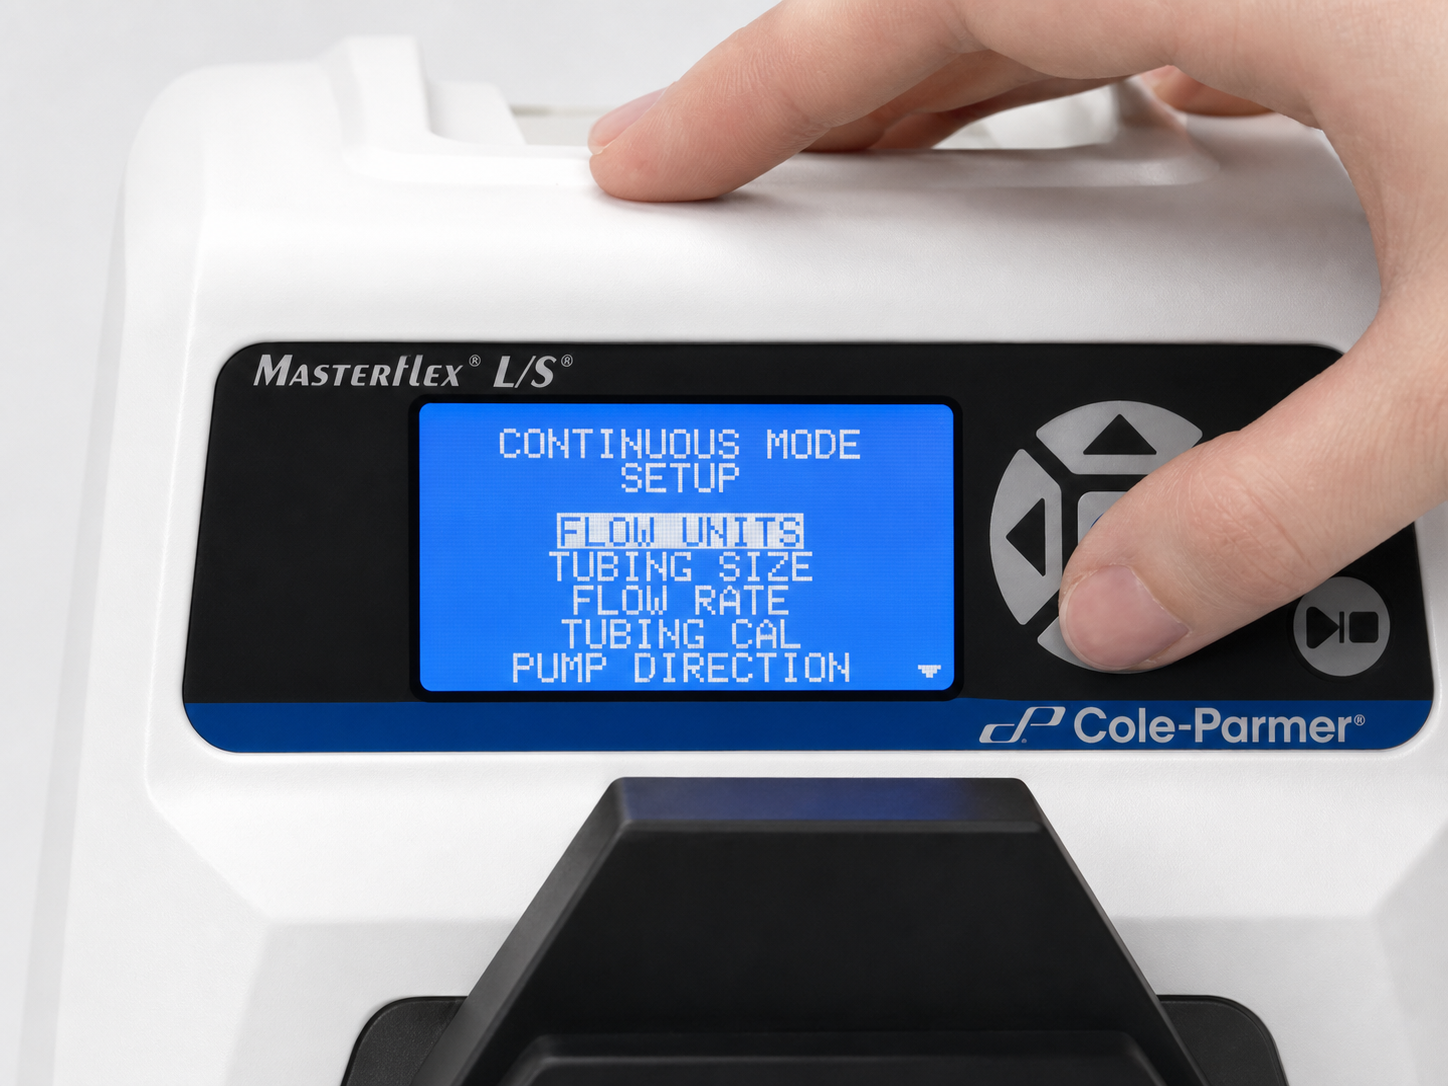
The setup menu, use the arrow keys to highlight Tubing Cal.
Set Your Flow Direction, Tube Size And Flow Rate
Inside the Tubing Cal screen, set the drive for your desired flow direction, tube size and flow rate. The calibration volume itself is fixed at this stage and can't be changed here.
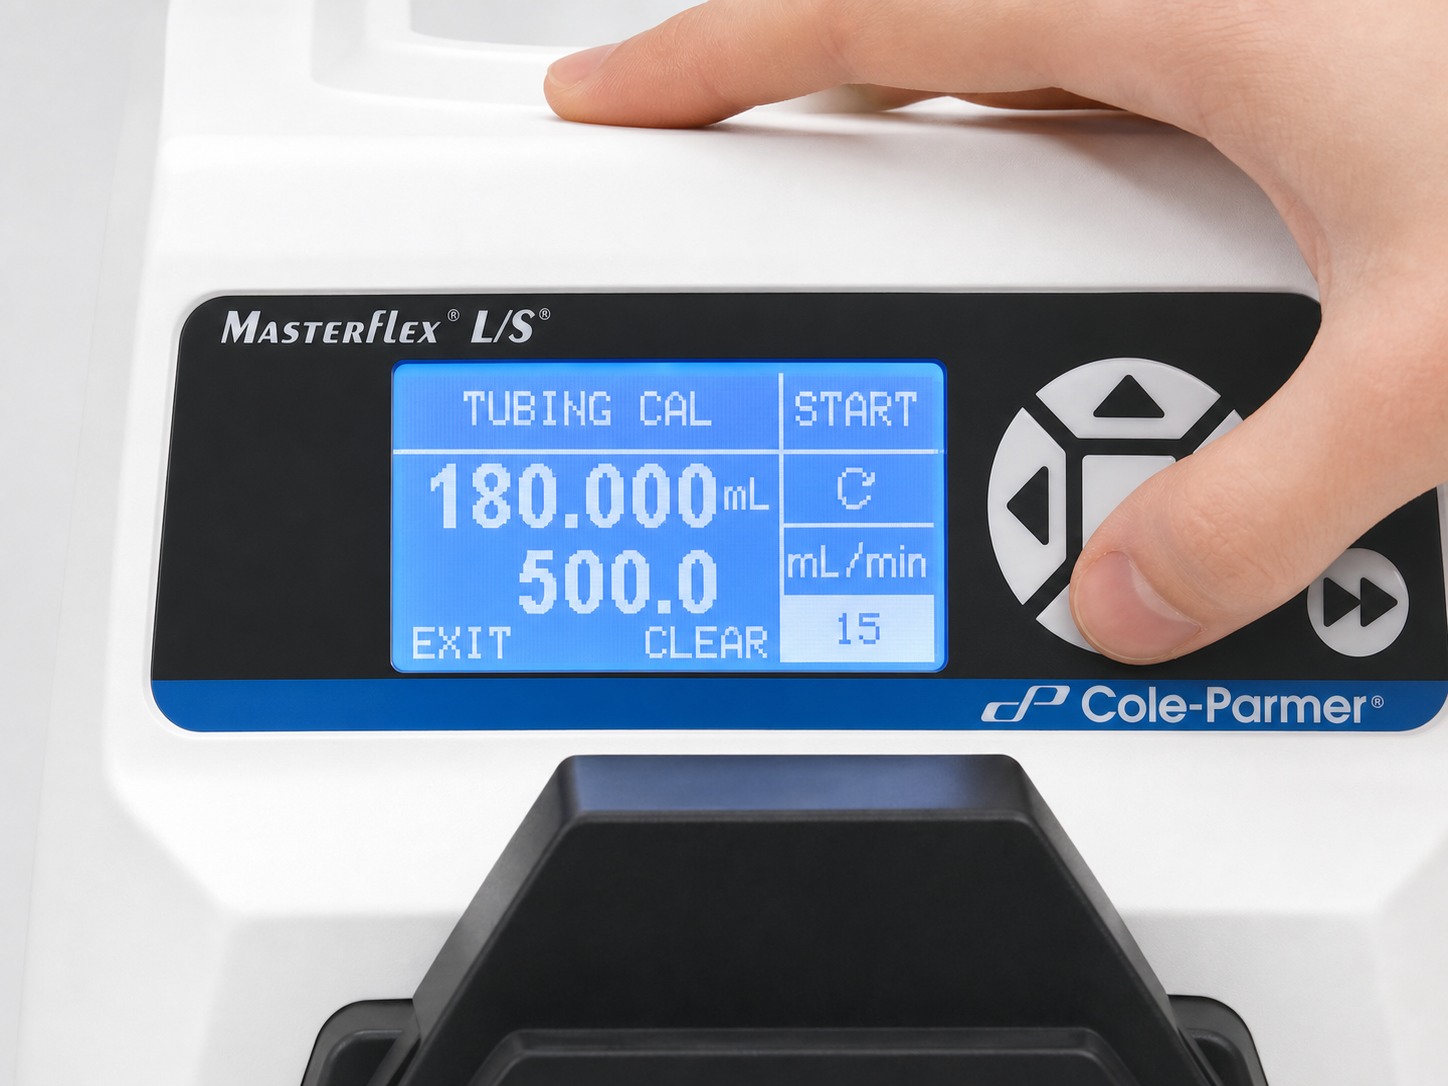
The Tubing Cal screen, set flow rate and tube size here before starting.
Calibrate at your real flow rate: it's best to calibrate at the same flow rate you'll actually be using in your application. That's what gives you the most accurate result for the work the pump is actually going to do, rather than a generic calibration at an arbitrary speed.
Prime The Pump
Press and hold the prime key to prime the pump and fill the tubing with water. Once the tubing is primed, empty any water that's collected in the graduated cylinder back into the beaker, this ensures an accurate measurement once the actual calibration run starts.
Run The Calibration And Read The Result
Highlight the Start field and press Enter to begin the calibration run. After the pump stops automatically, read the amount collected in the graduated cylinder, being sure to read from the bottom of the meniscus for an accurate result. In the video's own example, the first run delivered 194 mL.
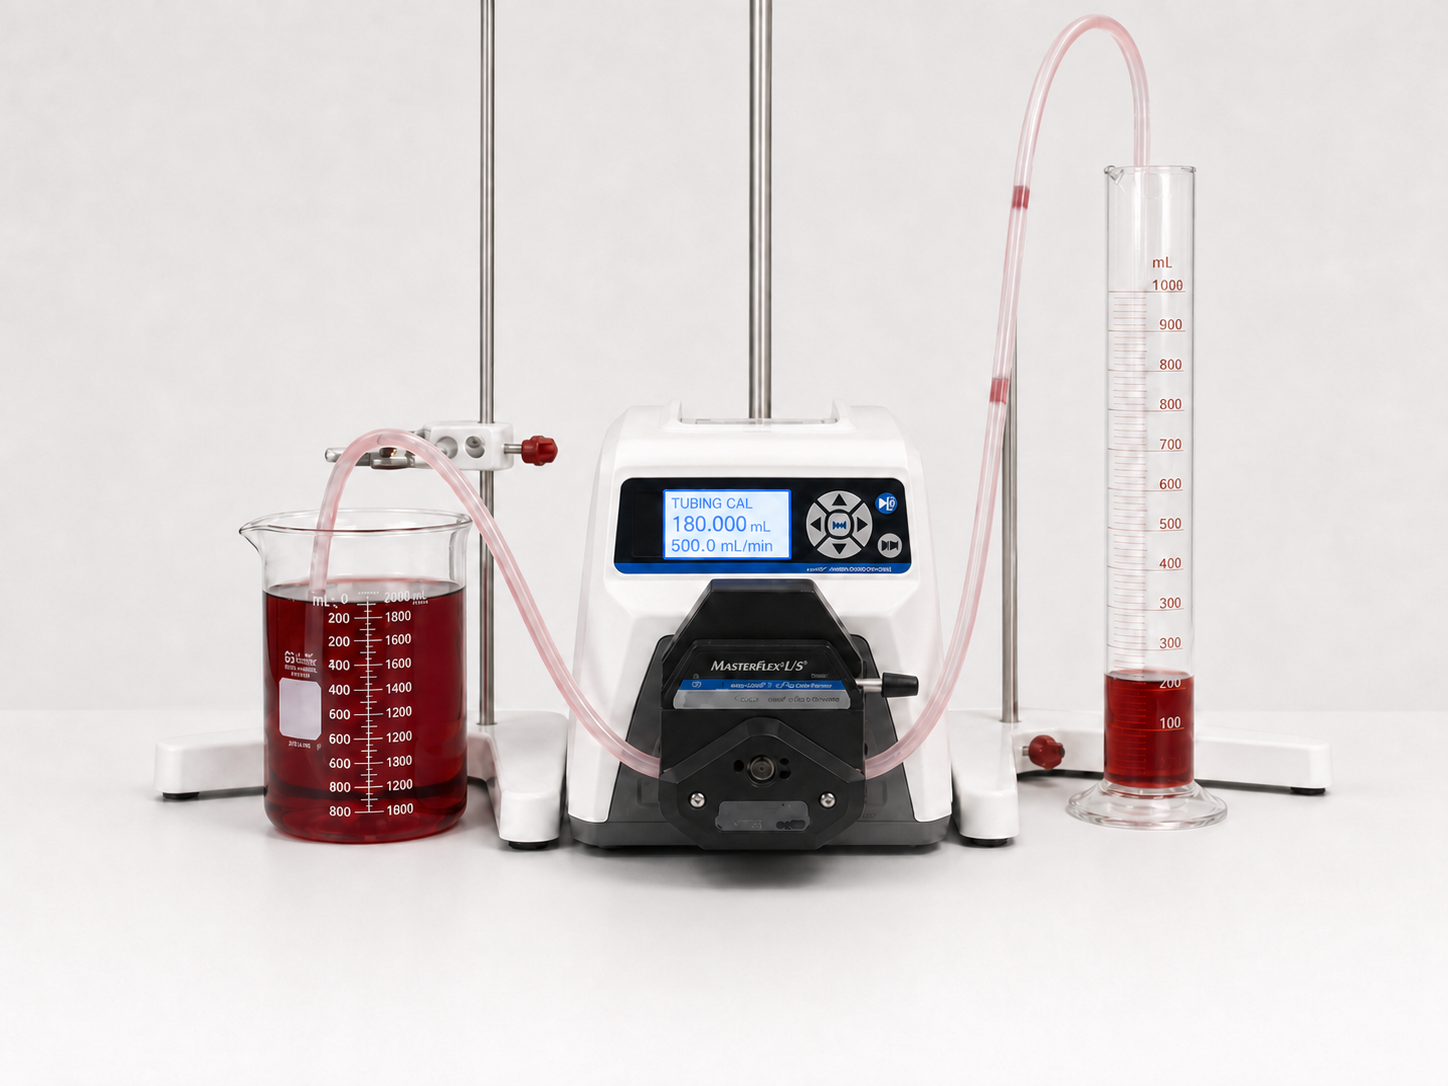
The calibration run in progress.
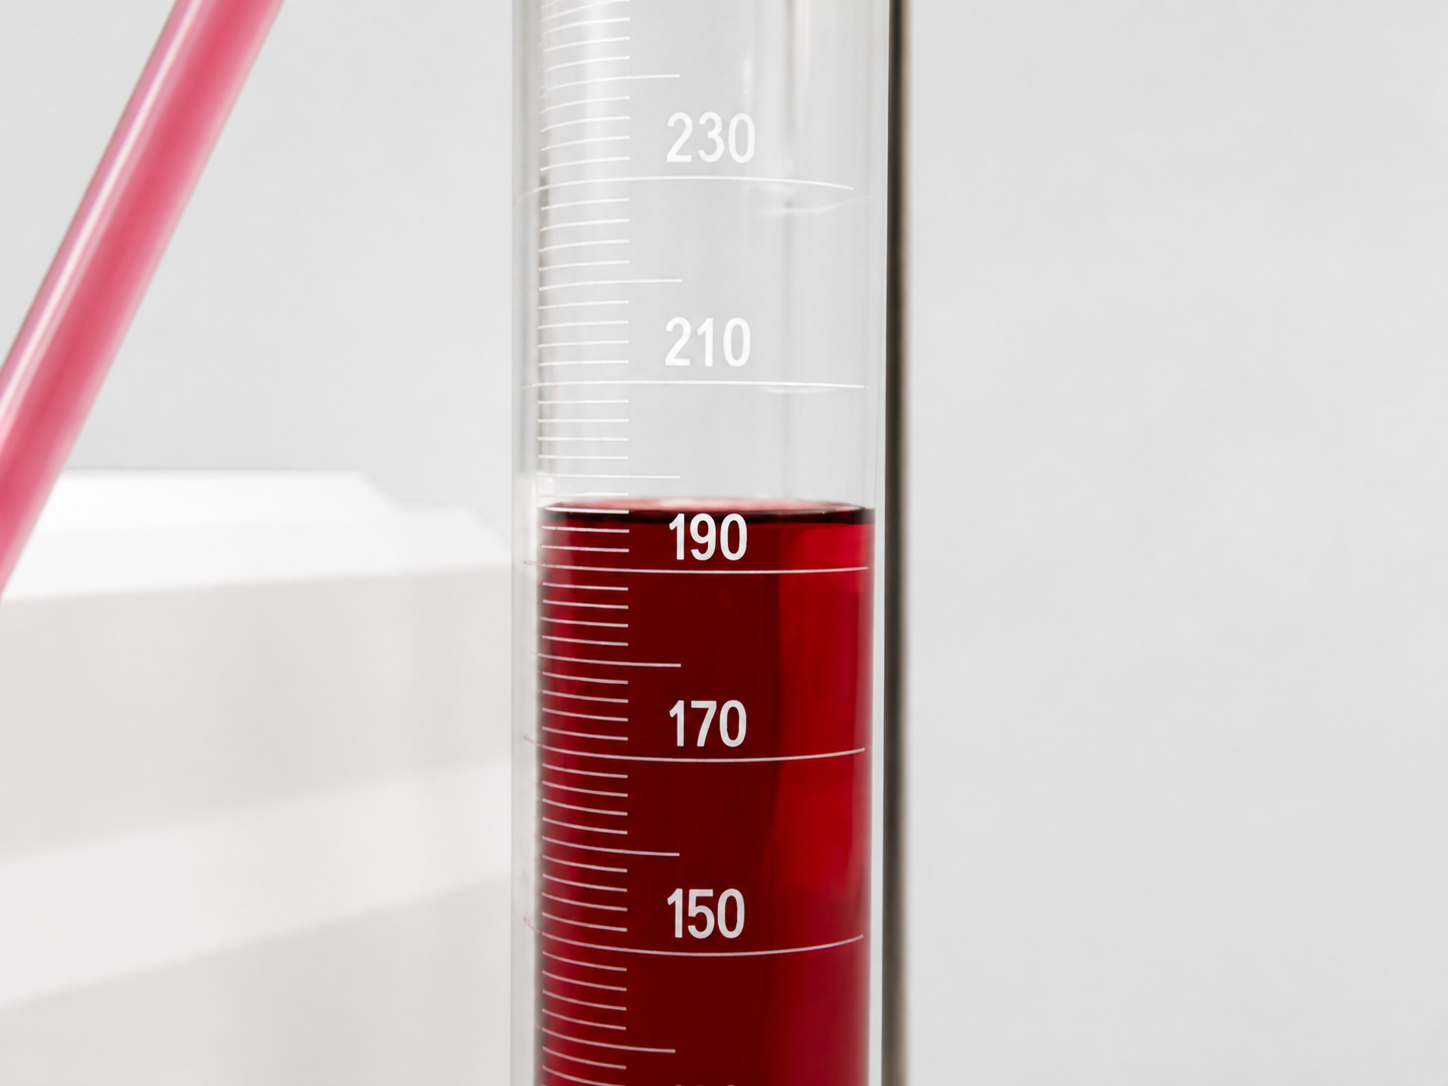
Reading the collected volume from the bottom of the meniscus.
Adjust The Cal Volume, Then Verify
Once you've read the cylinder, the Cal Volume field on the display will be highlighted. Press Enter, adjust the value to match your actual reading, then press Enter again to confirm it. Empty the cylinder back into the beaker and run the calibration again to check the pump has adjusted correctly.
This can take more than one pass. In the video's example, the first run read 194 mL, the second run after adjusting read 181 mL, and it took a third run to land on the target of 180 mL and confirm the calibration as successful. If your result is still inaccurate after a run, repeat the sequence, don't stop at the first adjustment.
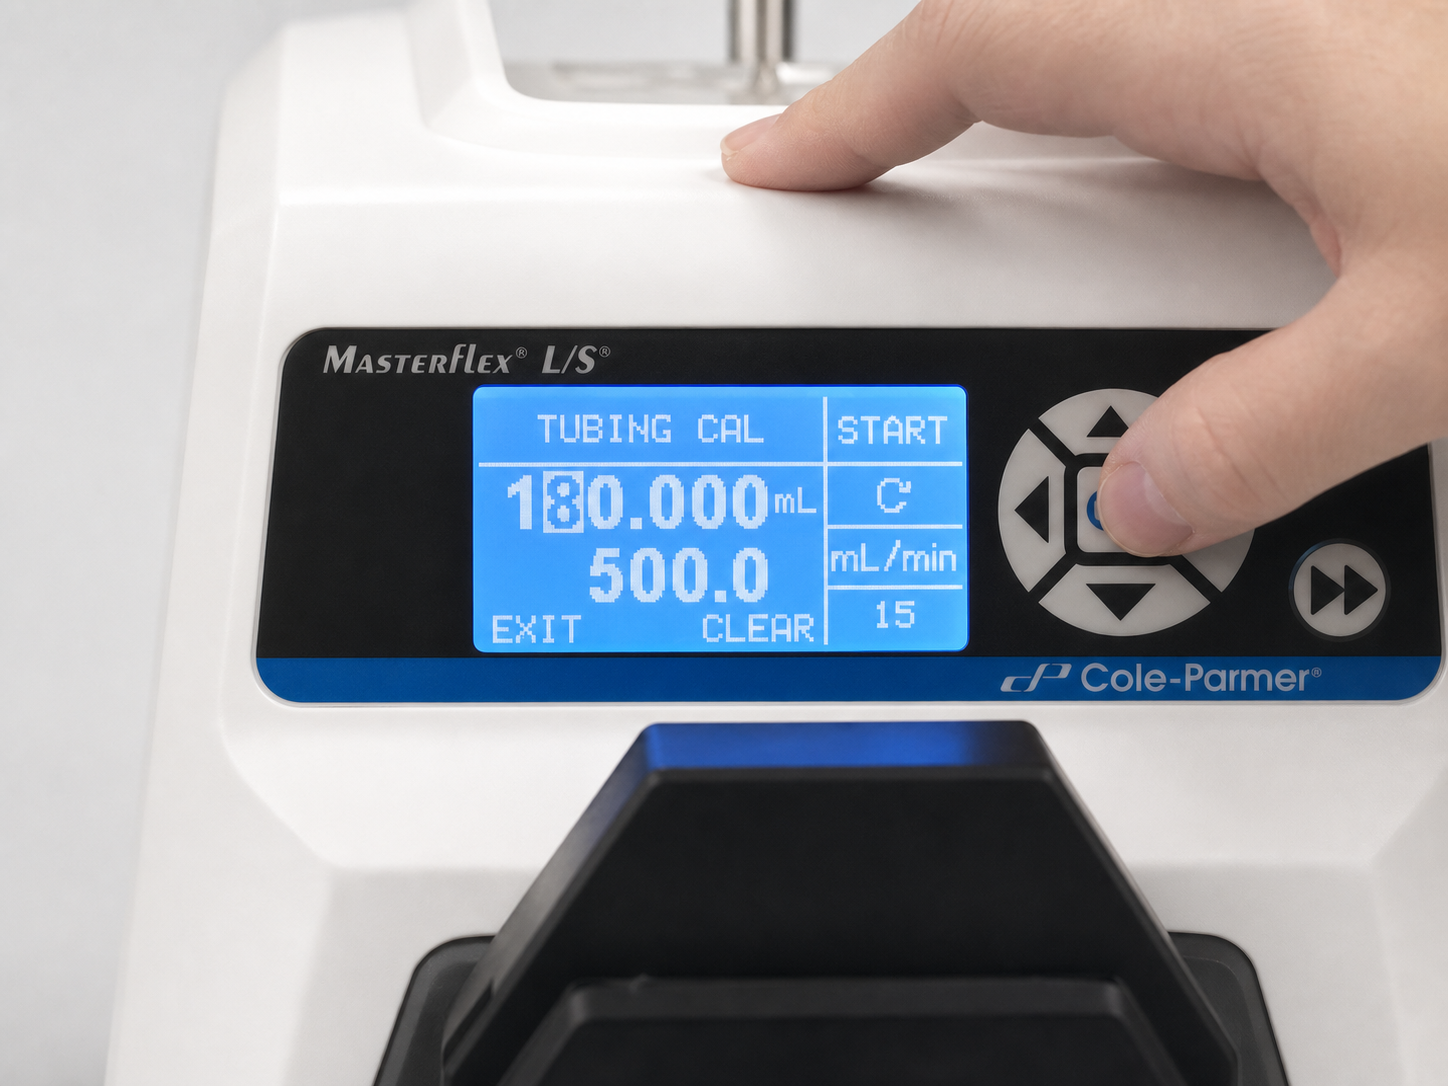
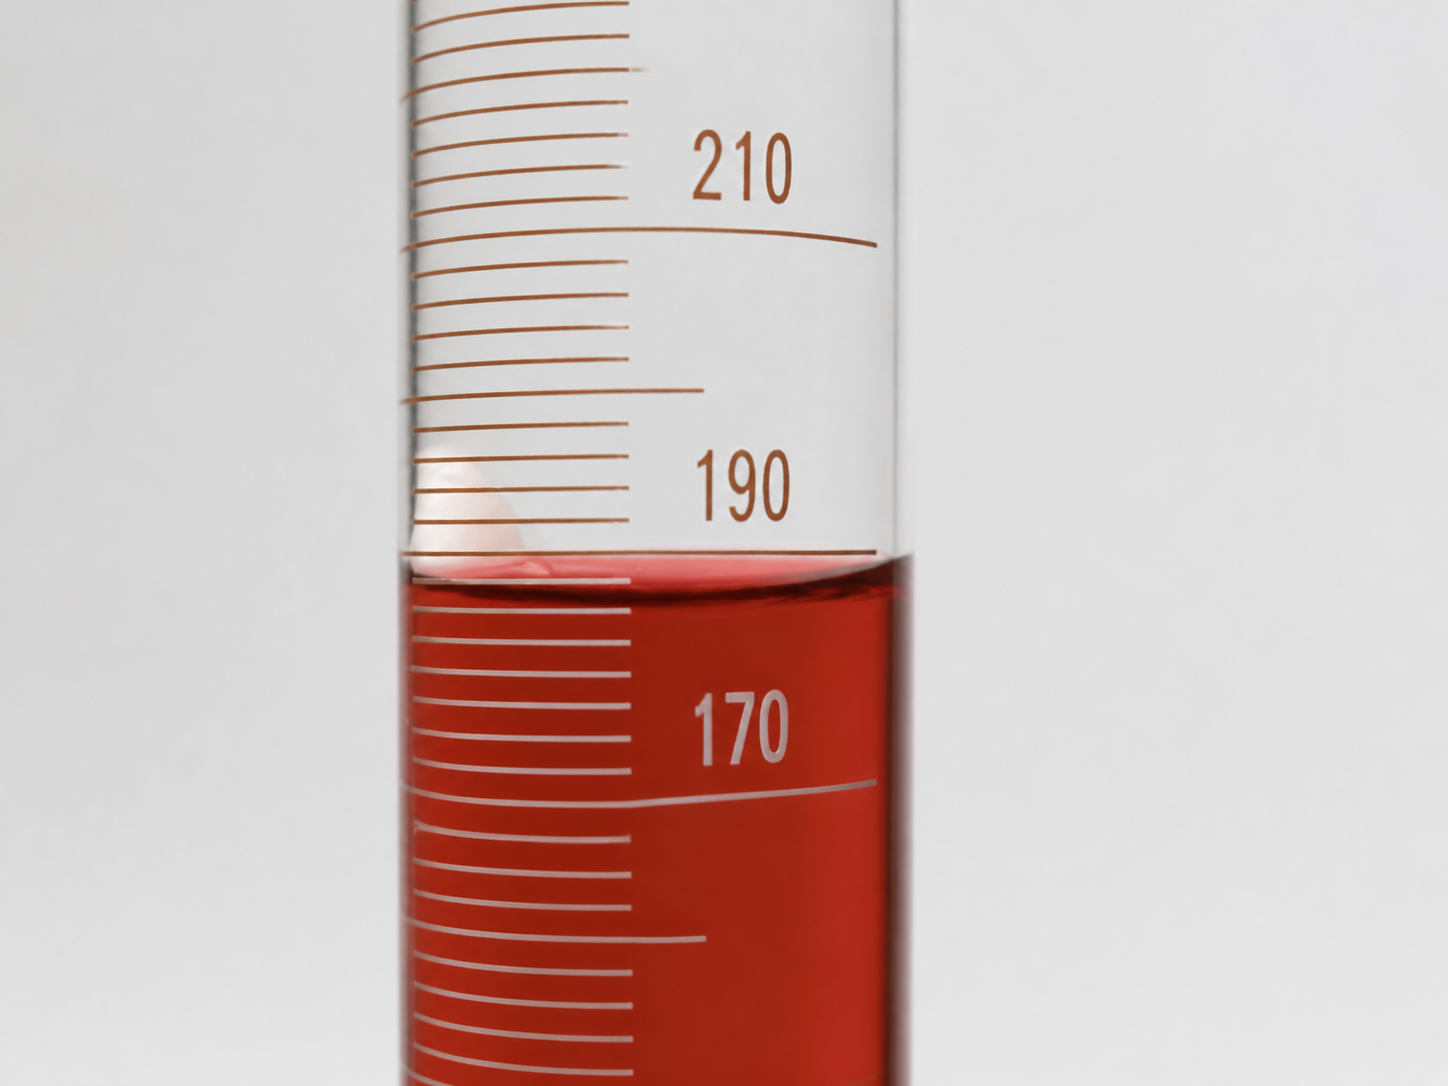
A repeat run confirms whether the adjustment landed on target.
Lock In The Calibration
Once a run comes back accurate, highlight Exit and press Enter to lock in the calibration. Scrolling down to Exit and pressing Enter again takes you back to the mode you were previously in. At that point, a small "C" appears in the bottom left corner of the display, confirming the pump is now calibrated.
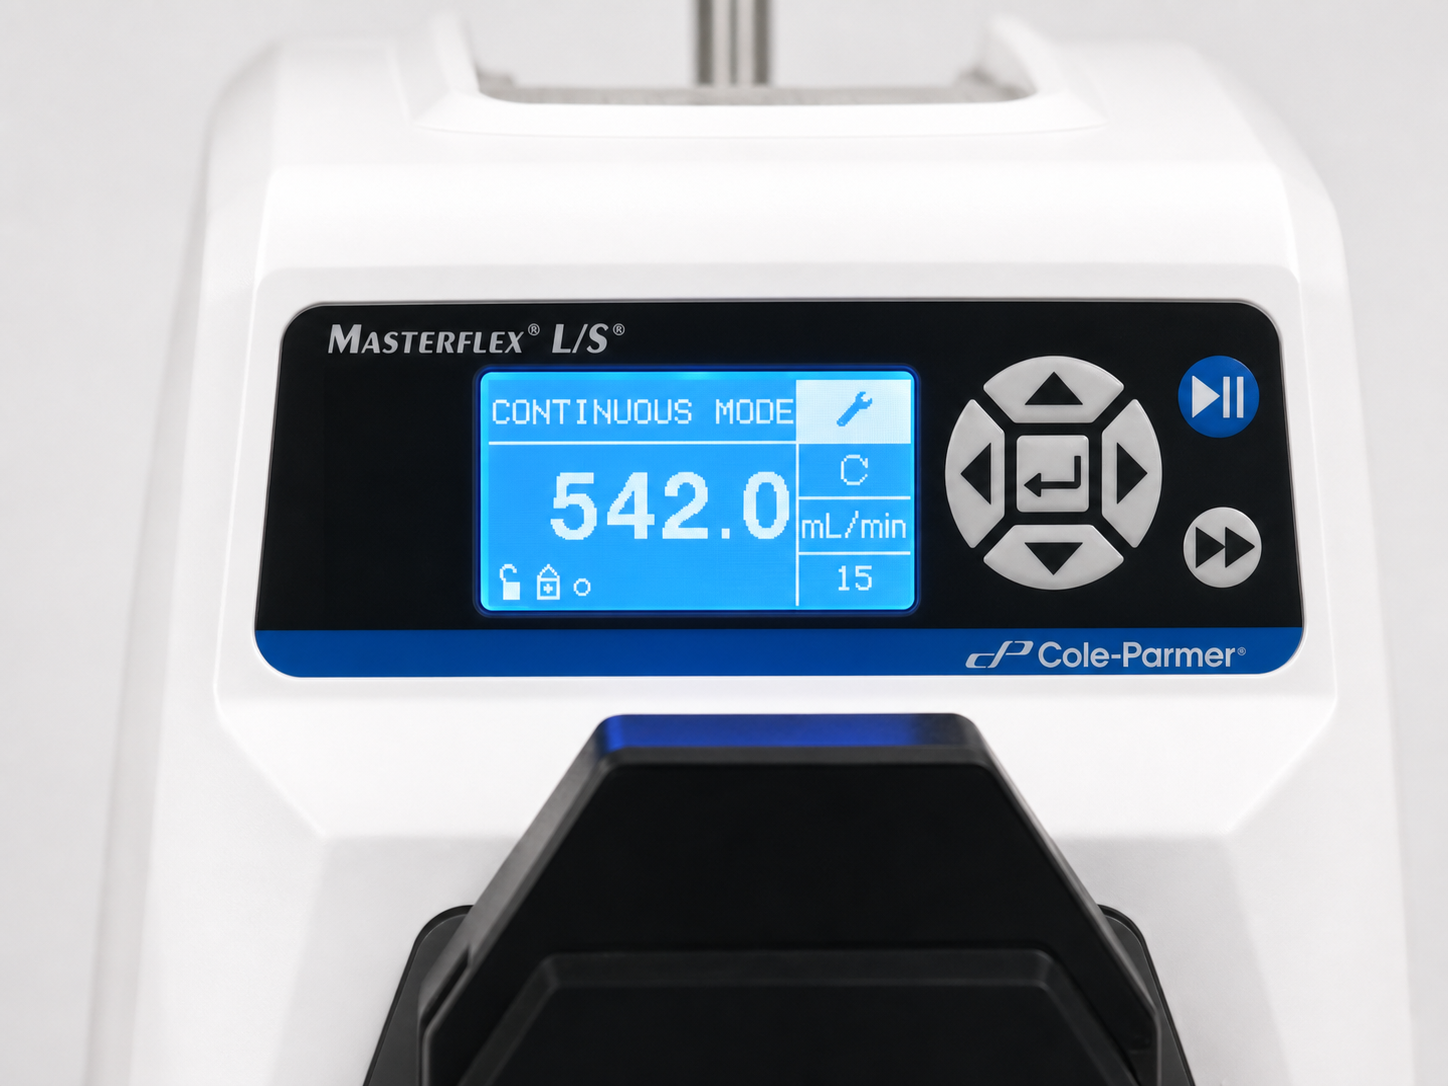
If your calibration volumes vary significantly between runs: follow the break-in procedure for new tubing first, running it at full speed for 10 minutes before calibrating. New tubing can behave inconsistently until it's been run in.
Need Help Setting Up A Masterflex Pumping System?
Choosing the right drive, pump head and tubing depends on your flow rate, chemical compatibility and duty cycle. John Morris Group can help configure a Masterflex system for your application.
Contact John Morris GroupOr call 1300 501 555